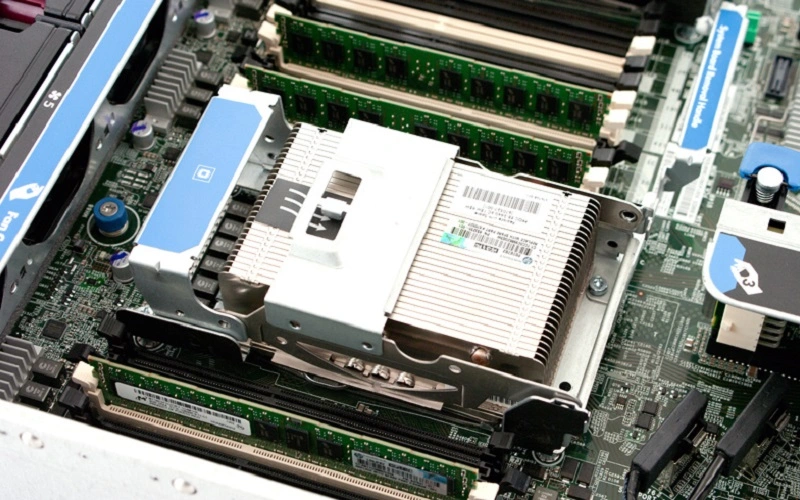
Upgrading your HPE server can enhance performance, add new features, and extend its lifespan. Here’s a step-by-step guide to upgrading your HPE server:
Step 1: Plan the Upgrade
- Identify the Need: Determine why you need to upgrade (e.g., increased storage, better performance, or updated firmware).
- Check Compatibility: Ensure that the new components (RAM, storage, CPUs, etc.) are compatible with your HPE server model. You can refer to the HPE Quickspecs or use tools like HPE PartSurfer for compatibility checks.
- Backup Data: Before making any changes, back up your data to prevent any potential loss during the upgrade.
Step 2: Gather Necessary Tools and Components
- Tools: Have a screwdriver, anti-static wrist strap, and any other tools required for the upgrade.
- Components: Ensure you have the correct RAM, storage drives, CPUs, or other components you plan to upgrade.
Step 3: Power Down the Server
- Shutdown Properly: Use the operating system’s shutdown procedure to power down the server safely.
- Disconnect Power: Unplug the server from the power source to avoid any electrical hazards.
- Remove External Cables: Disconnect any external cables (e.g., network cables, USB devices).
Step 4: Access the Server’s Interior
- Open the Chassis: Refer to your server’s manual for instructions on how to open the chassis. Most HPE servers have easy-access panels that make this process straightforward.
- Ground Yourself: Use an anti-static wrist strap to prevent static electricity from damaging sensitive components.
Step 5: Upgrade the Components
- RAM Upgrade:
- Locate the RAM slots on the motherboard.
- Remove existing modules if necessary.
- Insert the new RAM sticks, ensuring they are securely seated.
- Storage Upgrade:
- Identify the storage bays (SATA, SAS, or NVMe).
- Slide the new drive into the appropriate bay and secure it.
- CPU Upgrade:
- Carefully remove the existing CPU after detaching the cooling system.
- Insert the new CPU into the socket, ensuring proper alignment.
- Reattach the cooling system and apply thermal paste if necessary.
Step 6: Update Firmware and Drivers
- Download Updates: Visit the HPE support website and download the latest firmware and drivers for your server model.
- Update Firmware: Use HPE iLO (Integrated Lights-Out) or the server’s BIOS/UEFI interface to update the firmware.
- Install Drivers: Update your operating system drivers to ensure compatibility with the new components.
Step 7: Test the Server
- Power On: Reconnect the power cable and turn on the server.
- Check BIOS/UEFI: Access the BIOS/UEFI to ensure that the new components are detected and functioning properly.
- Run Diagnostics: Use tools like HPE Insight Diagnostics to run a full system check and verify that everything is working correctly.
Step 8: Reconfigure and Optimize
- Adjust Settings: If necessary, adjust BIOS/UEFI settings to optimize performance for the new components.
- Update Configurations: Update any RAID configurations, network settings, or virtualization settings based on the new hardware.
Step 9: Monitor Performance
- Use Monitoring Tools: After the upgrade, use monitoring tools like HPE OneView or HPE InfoSight to keep an eye on server performance and ensure that everything is running smoothly.
- Make Adjustments: If performance isn’t optimal, tweak system settings or configurations as needed.
Step 10: Document the Upgrade
- Keep Records: Document the upgrades made, including the date, components added, and any configuration changes. This helps with future maintenance and troubleshooting.
Optional: Recycle Old Components
- Dispose Responsibly: Recycle or repurpose old components in an environmentally friendly manner. HPE offers recycling programs that you can utilize.
By following these steps, you can successfully upgrade your HPE server and improve its performance to meet your business needs.
